
How to Improve Shopify App Onboarding Flow
Shorten onboarding to 3-5 steps, define a clear activation event, hide advanced options, and track funnel and time-to-value.
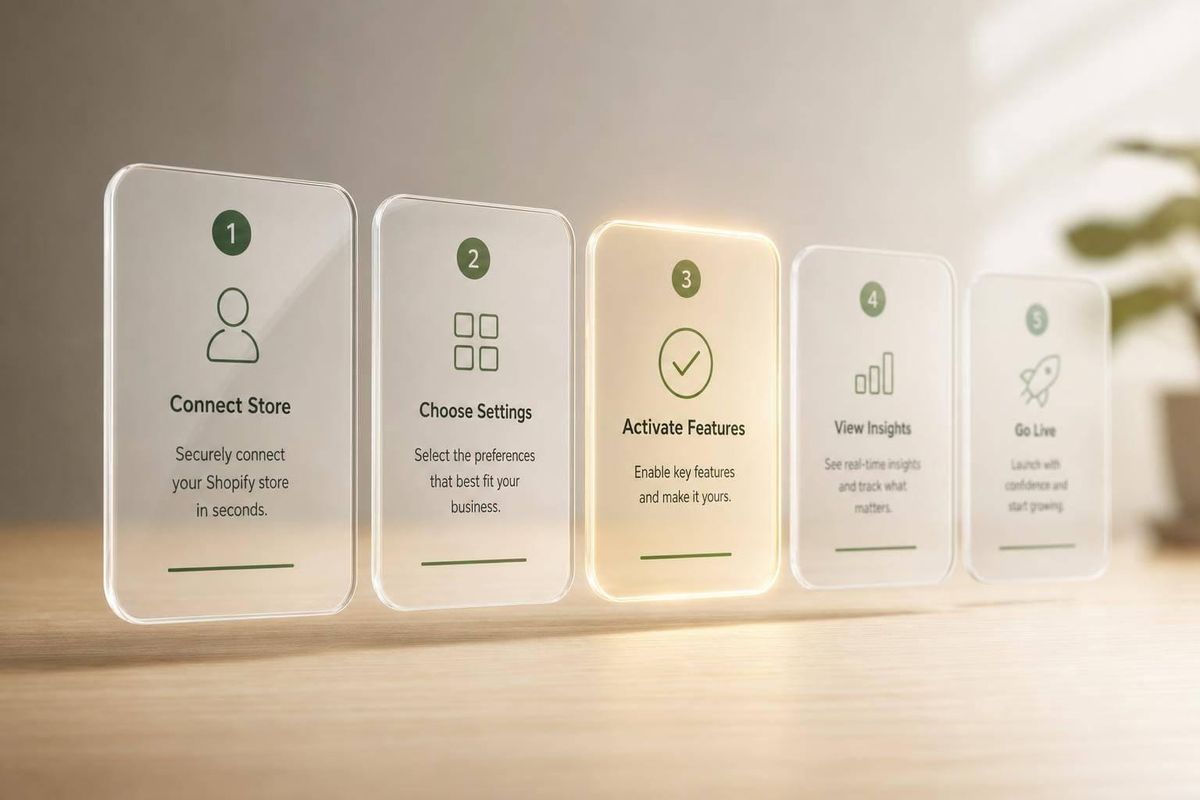
Most Shopify apps lose users in the first few days, so I’d focus onboarding on one job: get merchants to first value fast. In practice, that means I’d define a clear activation event, cut setup to only the few steps that lead to it, hide extra options until later, and track where users drop off. The article’s main point is simple: shorter setup, clearer next steps, and tight measurement lead to better activation and Day 7 retention.
Here’s the full takeaway in plain English:
- I’d pick one activation event first, such as first synced product, first campaign sent, or first automation turned on.
- I’d map the funnel from install to setup completion, activation, and Day 7 activity.
- I’d keep onboarding to 3–5 steps and remove anything that does not help users reach first value.
- I’d use embedded Shopify UI patterns with App Bridge and Polaris so the app feels like part of Shopify Admin.
- I’d design empty states around one CTA, not many choices.
- I’d hide advanced settings at first and show them only after activation.
- I’d use checklists, tooltips, and walkthroughs sparingly, and always give users a skip option.
- I’d review drop-off by screen and fix the step where the most users leave.
- I’d track time-to-value, because if setup time drops and activation goes up, the changes are working.
A few numbers make the case clear: apps can lose 77% of daily active users within the first 3 days after install, and even a 5% gain in Week 1 retention can lead to almost 20% more Week 10 retention. So if I were improving a Shopify app onboarding flow, I would start by shortening the path, making the next action obvious, and measuring each step from install to activation.
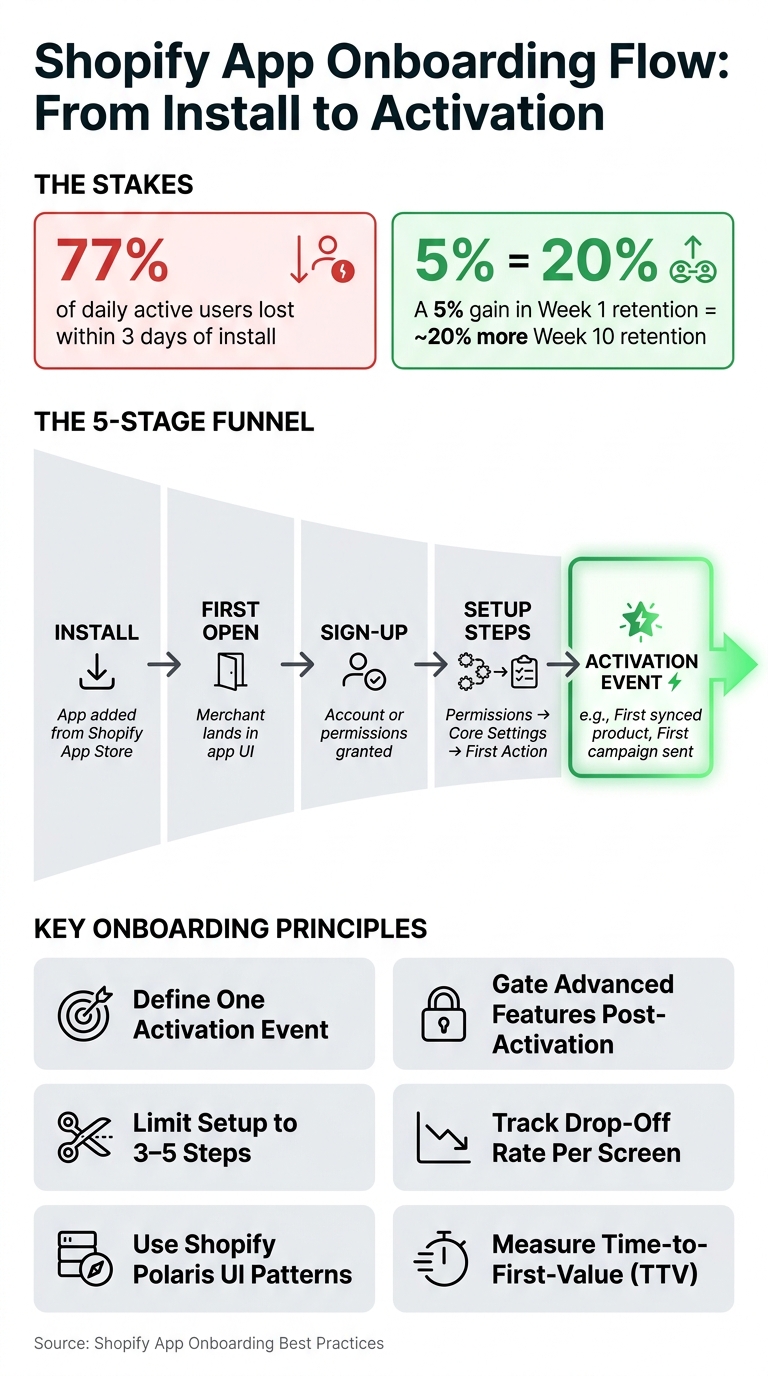
Shopify App Onboarding Flow: From Install to Activation
Case Study: Hatchful Onboarding – Shopify App Feature – Whiteboard.fm Clips
Build a Short Setup Path That Gets Merchants to First Value
Every extra setup step adds friction. And friction is expensive. Apps lose 77% of daily active users in the first three days after installation. So once you've defined the activation event, the job is simple: cut the setup path down to the steps that get merchants there.
Limit setup to the minimum required steps
Keep onboarding to three to five steps max. A simple flow works best:
- permissions
- core settings
- first action
Only ask for what's needed to reach activation. Everything else can come later, after the merchant has already seen the app work. If a step doesn't help them get to first value, it probably shouldn't be in onboarding.
Then make those steps feel like they belong inside Shopify, not like a detour.
Use embedded, familiar UI patterns
Build inside Shopify Admin with Shopify App Bridge and the Polaris design system. When the UI feels familiar, merchants spend less time figuring things out and less time bouncing between screens.
As Liz Couto from Shopify advises:
"Instead of listing all the setup steps on a single page, break complex tasks into easy steps, and serve up each step on a different page."
That advice matters because long setup pages can feel like paperwork. A step-by-step flow feels lighter and easier to finish.
Add a progress indicator, like a step counter or progress bar, so merchants can see how close they are to done. Use visual cues to make the next move obvious.
If merchants still hit a blank screen, that screen needs to point them in one direction.
Design empty states around one clear next action
A blank dashboard is a dead end. Each empty state should do three things: explain the outcome, show what the merchant is trying to get, and offer one main call to action.
For example: "Create First Rule."
That's the kind of CTA that works. It's direct, specific, and tied to the activation event. Not three buttons. Not a menu of choices. Just one clear next step.
Use Progressive Disclosure and Feature Gating to Avoid Overload
Use progressive disclosure to keep first-run onboarding centered on activation. The idea is simple: once the first action is clear, hide anything merchants don't need yet.
Create one primary path to activation
During first-run onboarding, show only the steps tied to activation.
Liz Couto from Shopify's app development team puts it well:
"While merchants will likely want to eventually take advantage of the customizations your app offers, when they're first getting started, knowing the basics of how your app functions is enough."
Merchants don't need the full feature set on day one. They need to see the app work. That's the point. If the first experience turns into a tour of every option, people can stall out before they get any value at all.
Gate advanced features until the basics are done
Hold back advanced features until after activation. A good filter is one simple question: does this help the merchant reach first value right now?
- Advanced settings - after activation
- Secondary tasks - when needed
- Help content - via links to docs
Inside the app UI, show the basics and keep the path clean. If someone wants more detail, point them to external documentation. Then, after activation, bring in advanced options when they actually matter.
Use checklists, tooltips, and walkthroughs selectively
If you use a checklist, split it into simple numbered steps across separate pages. Keep first-run walkthroughs to five screens or fewer.
Tooltips and guidance should be contextual. In plain English, don't dump every hint on the screen at once. Show help when a merchant reaches a given step or tries a related action.
Also, always include a skip option for returning users.
Once guidance gets lighter, the next job is finding the exact friction points still getting in the way of activation.
sbb-itb-ce93587
Find and Remove Friction in the First-Run Experience
Friction is anything that slows merchants down between install and activation. So treat every step that delays activation like a problem to fix. The best way to do that is to audit the first-run flow one step at a time.
Audit common friction points step by step
Once you've shortened the flow, the next job is to find the exact screens where merchants still drop off. Watch merchants go through onboarding on their own and ask them to think aloud. Pay close attention to moments where they pause over a button label, get tripped up by a term, or simply don't know what to do next.
User testing tells you why people struggle. Funnel data tells you where they leave.
Pull your funnel data and calculate the drop-off rate for each screen:
Drop-off Rate (%) = (Users Who Drop Off at a Step ÷ Users Who Reached That Step) × 100
Start with the step that has the highest drop-off. In many apps, the usual trouble spots are:
- Long forms
- Vague permission requests
- Dead-end empty states
- Slow screens that increase drop-off
That worst-performing step should be your first fix.
Make non-essential onboarding steps skippable or deferrable
Anything that doesn't affect activation should move out of the first-run flow. Put simply, if a step doesn't directly help the merchant reach the activation event, it shouldn't get in the way.
That often means saving extra permissions, secondary settings, or profile details for later - after the merchant has already seen the app do its job. This matters because people are far more willing to give more info once the app has proven itself.
Compare onboarding patterns before redesigning the flow
Before you redo the flow, compare the main onboarding patterns and pick the lightest one that still gets merchants to activation. Use single-page setup for simple apps, a wizard for setup that needs to happen in order, and progressive inline onboarding for apps with lots of features.
The goal isn't to make onboarding look fancy. It's to remove as much friction as possible without making the path to activation hard to follow.
After you remove these blockers, measure whether time to activation goes down.
Measure Onboarding Performance and Iterate
Once you fix the biggest drop-off, check whether activation and TTV went up. That’s the whole point. Set up onboarding tracking, then review the funnel every week.
Track funnel events and time-to-value
At a minimum, track these five events in order: install → first open → sign-up → setup steps → activation event. This gives you a simple view of where merchants keep going and where they stall.
Time-to-value (TTV) is the main metric here. Measure TTV as the time from install to activation. Then look at cohorts to see how activation timing splits out. If a big share of merchants activates late, that often points to app complexity or merchant-side timing limits.
"If my changes make sense, the time [to set up] is supposed to decrease, and the conversion rate is supposed to increase." - Mat De Sousa, Founder, WideBundle
Use conversion data to prioritize fixes
Use the data to decide which screen to fix next. Start with the step that has the highest drop-off. That’s usually where a fix has the biggest payoff.
| Metric | What It Measures | How to Calculate | How to Act |
|---|---|---|---|
| Onboarding Completion Rate | % of users who finish the full setup flow | (Completed Onboarding ÷ Total New Users) × 100 | If low, simplify steps or remove non-essential fields |
| Drop-off Rate | % of users who leave at a specific step | (Users Dropped at Step ÷ Users Reached Step) × 100 | Find the screen causing confusion and redesign it |
| Time-to-First-Value | Time from install to activation event | Average of (Activation Timestamp − Install Timestamp) | Shorten the path; gate advanced features until later |
| Install to Registration Rate | % of installs that complete sign-up | (Registered Users ÷ Total Installs) × 100 | If low, simplify the welcome screen or add SSO |
| App Crash Rate | % of sessions ending in a technical failure | (Total Crashes ÷ Total App Loads) × 100 | Fix stability issues before addressing UX polish |
Conclusion: Shorten Setup and Prove Value Faster
Define a clear activation event. Cut setup to the minimum. Gate advanced features. Fix the step with the highest drop-off. Then iterate.
FAQs
What counts as first value?
First value happens when a user quickly finishes a main task or solves a specific problem with your app.
So instead of walking people through how the app works, onboarding should guide them to an immediate, concrete result that shows why the app matters. When you focus on one clear outcome, it becomes much easier to move users from install to activation with as little effort as possible.
Which onboarding steps should I cut first?
First, cut long, static walkthroughs that slow people down before they can do anything. If the intro just repeats what users already saw in your app store listing, take it out.
You should also remove steps that ask for information the app doesn’t need right away. And get rid of any dead ends where the user lands on a screen with no clear next move. A better approach is contextual, in-app guidance that teaches people as they go.
How do I measure onboarding drop-off?
Track conversion rates at each step of the setup process. To calculate the drop-off rate for a given step, divide the number of users who leave at that point by the number who reached that step, then multiply by 100.
That gives you a clear view of where merchants quit onboarding. Once you know which screens or tasks cause friction, you can simplify those parts and watch whether completion rates improve over time.