
Track App Revenue With Shopify Partners
Track charges, reconcile payouts, and link Partner earnings to installs and rankings using exports and the Partner API.
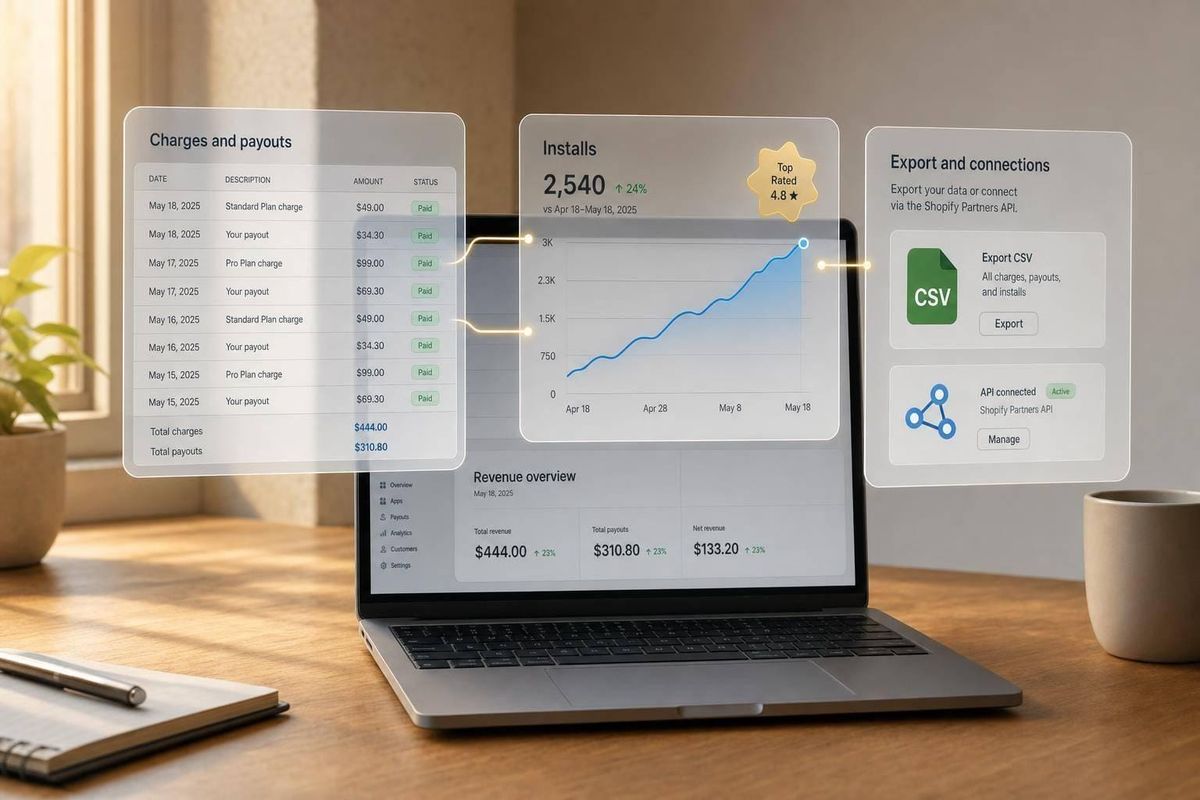
If I want to know what my Shopify app earned, I need to track three things together: charges, payouts, and timing. Gross charges show what merchants were billed. Net earnings show what I keep after Shopify’s cut, taxes, refunds, and other adjustments. Payouts show when cash hits my bank account - and those dates often do not match the earnings dates.
Here’s the short version:
- I check Overview metrics in Shopify Partners for earnings, installs, and uninstalls
- I use 7-day and 30-day views instead of judging one day at a time
- I export earnings, merchant, and history data to match charges against payouts
- I review app history to spot statuses like accepted, canceled, suspended, and refunded
- I open store-level charge details when one merchant’s bill needs a closer look
- I reconcile deposits in Payouts, since Shopify pays twice a month
- I track revenue by recurring, one-time, and usage charges so I can see what changed
- I compare earnings with installs, rankings, and reviews on the same timeline
- I account for the usual 7 to 14 day lag between install growth and paid revenue
- I keep Shopify’s fee rule in mind: 0% on the first $1,000,000 in annual app revenue, then 15% above that
A simple way to think about it: the dashboard is my earnings record, while payouts are my bank deposits. If I separate those two, then line them up with billing events and app store trends, I get a much cleaner read on revenue movement.
The rest of the article walks through that process in order: check metrics, verify charge history, match payouts, then compare revenue with app visibility.
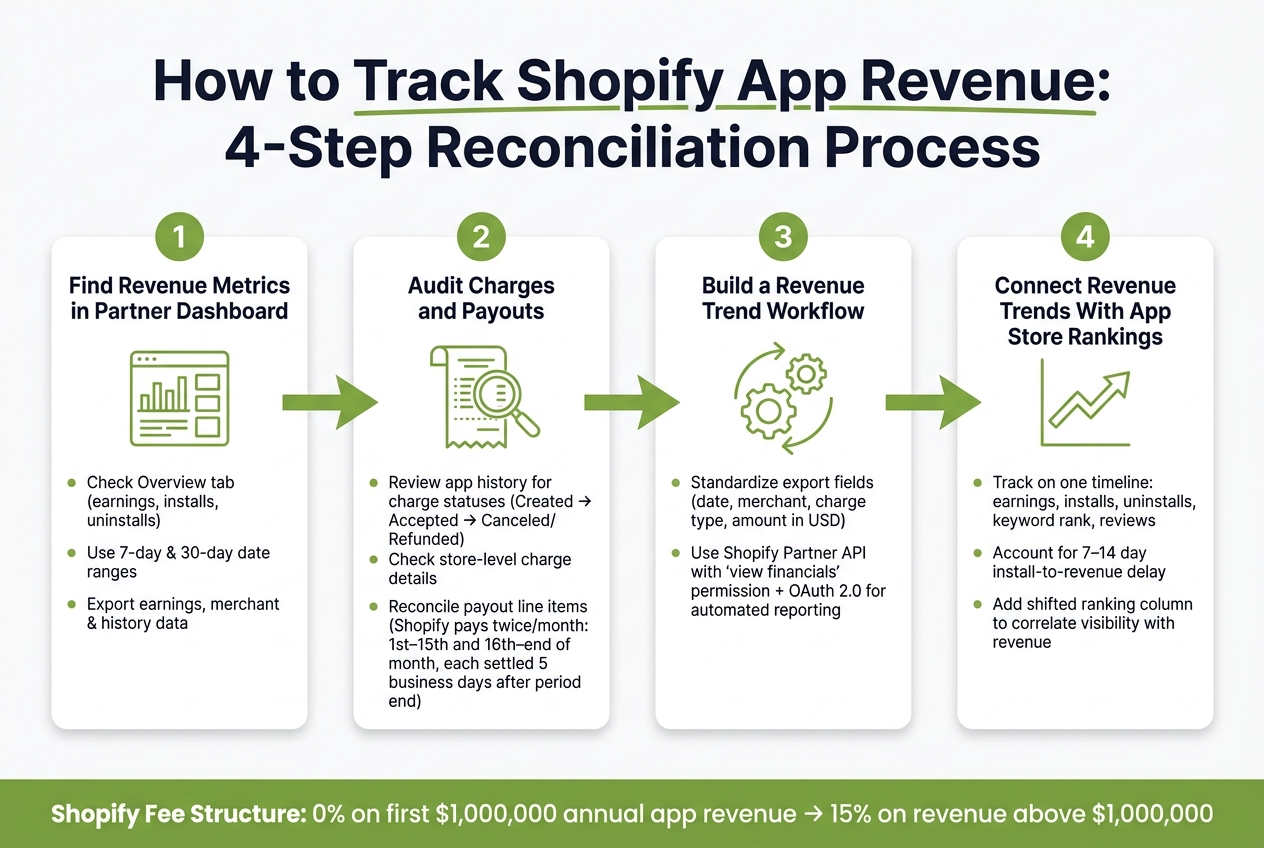
How to Track Shopify App Revenue: 4-Step Reconciliation Process
Step 1: Find Revenue Metrics in the Partner Dashboard
Open Apps and review the Overview tab metrics
Start in your Shopify Partner account. Open the app you want to review, then go to the Overview tab to check earnings, installs, and uninstall counts.
This is where you can trace the revenue streams you mapped out earlier. Look at earnings, installs, and churn over the same date range so the numbers line up cleanly. If one metric uses a different window, the comparison gets messy fast.
Use 7-day and 30-day ranges
Don’t rely on single-day snapshots. They can make normal ups and downs look bigger than they are.
Instead, use 7-day and 30-day ranges to read revenue trends. That gives you a better sense of what’s actually happening with sales, installs, and churn.
Export earnings, merchant, and history data
Export your earnings, merchant, and charge history data for reconciliation.
Treat these exports as your baseline for charge and payout checks. You’ll use them again in Step 2 to verify charge events and match payout totals.
Step 2: Audit Charges and Payouts for Accuracy
Use the exports from Step 1 to check each charge and reconcile each payout line by line. Start with the event log. Then confirm the merchant record. After that, match the payout.
Use app history to inspect charge events
Go to App distribution → App overview → Latest app history → View all app history to review the full event log for each app charge. This is the first place to look when a revenue drop doesn't match the summary totals. Filter by date, event type, and store to see whether cancellations, suspensions, or refunded events went up during the same period and help explain the earnings change.
Here’s the plain-English version of the charge statuses:
- Created means pending
- Accepted means approved
- Declined or expired means the charge never went through
- Canceled or suspended means recurring revenue stopped
- Refunded means net earnings went down
If the problem looks tied to one store, move into that merchant’s record next.
Check store-level charge details for specific merchants
When a merchant asks about a charge, open App distribution, search for the store by name or URL, and review that store's charge records. Use the Details link next to each charge to open the invoice and confirm the amount, date, status, and whether the charge reached active status.
This step is especially helpful for support tickets. You can see if the merchant was billed the right amount and whether the charge ever became active.
Shopify only allows refunds on charges under $1,000 and created within the past year. If the issue involves a plan change, compare back-to-back charge amounts and descriptions to confirm the merchant was billed at the right rate after an upgrade or downgrade.
If a charge is still in created status and was never accepted, it won't appear in the Charge overview page or in your earnings.
Then tie that charge to the payout line item to make sure it made it to your bank.
Review payouts and line items to reconcile cash flow
Open App distribution → Payouts to match bank deposits to payout line items. Shopify pays out twice a month: charges from the 1st–15th are paid five business days after the 15th, and charges from the 16th–end of month are paid five business days after month end.
Open a payout, filter for app charges, and inspect the line items. The Type column links to the charge, and each row shows the gross amount, adjustments, currency, and the associated merchant store. Cross-check those rows with your app history exports to confirm that each accepted charge appears there and that refunds (EARNING_REFUND) and credits (EARNING_CREDIT) reduce the net total.
The table below shows what each data source helps you verify:
| Data Source | What It Shows | When to Use It | Question It Answers |
|---|---|---|---|
| App history | Charge event log with status transitions | Revenue drops, billing lifecycle checks | Did this charge get accepted, canceled, or refunded? |
| Store-level charge details | Merchant invoices with amounts and dates | Support tickets, refund checks, plan changes | Was this merchant billed correctly? |
| Payout line items | Gross amount, adjustments, currency, and the associated merchant store | Monthly reconciliation, accounting checks | Does my bank deposit match reported earnings? |
Step 3: Build a Revenue Trend Workflow With Exports and APIs
After you reconcile charges and payouts, the next move is to turn those exports into a reporting workflow you can use again and again. That way, you can spot revenue movement early instead of digging through files every time something changes. Then, in the next step, you can line those swings up with installs and rankings.
Organize exported revenue data for analysis
Set up your exports with the same core fields every time: date, merchant, charge type, and amount in USD. When your columns stay the same, trend analysis gets much easier. You can sort, filter, and compare results without cleaning up the data first.
Use the Partner API for automated reporting
If your team needs reports on a regular schedule, the Shopify Partner API can handle financial reporting automatically. To use it, you need "view financials" permission and OAuth 2.0 authorization. After authorization, the data syncs on its own.
Once this data is set, you have a clean baseline for checking revenue trends against App Store visibility. Your exports and API feeds give you the numbers you need before you compare revenue with ranking changes.
sbb-itb-ce93587
Step 4: Connect Revenue Trends With App Store Rankings
Put revenue, installs, ranking shifts, and reviews on the same calendar. That’s how you spot what’s driving sales instead of guessing.
One thing trips people up all the time: revenue often shows up later than visibility changes. In many cases, the delay is about 7 to 14 days.
Compare revenue, installs, and ranking changes on the same timeline
Build a daily or weekly trend table and keep the dates matched across every metric. When everything sits on one timeline, the pattern is much easier to see.
Track:
- Date
- Earnings
- Installs
- Uninstalls
- Active merchants
- Keyword rank
- New reviews
- Notable events
Pay close attention to the install-to-revenue delay. For subscription apps with free trials, new installs often don’t turn into paid charges until 7 to 14 days after installation. So if your rankings jump this week, that lift may not appear in your Shopify Partners earnings until the next billing cycle.
A simple fix: add a shifted ranking column. That lets you test whether last week’s visibility lines up with today’s revenue.
Reviews matter here too. Track new reviews next to ranking changes. In many cases, review spikes come about a week before revenue growth.
Use AppJubilee to connect Shopify Partners data with ASO signals
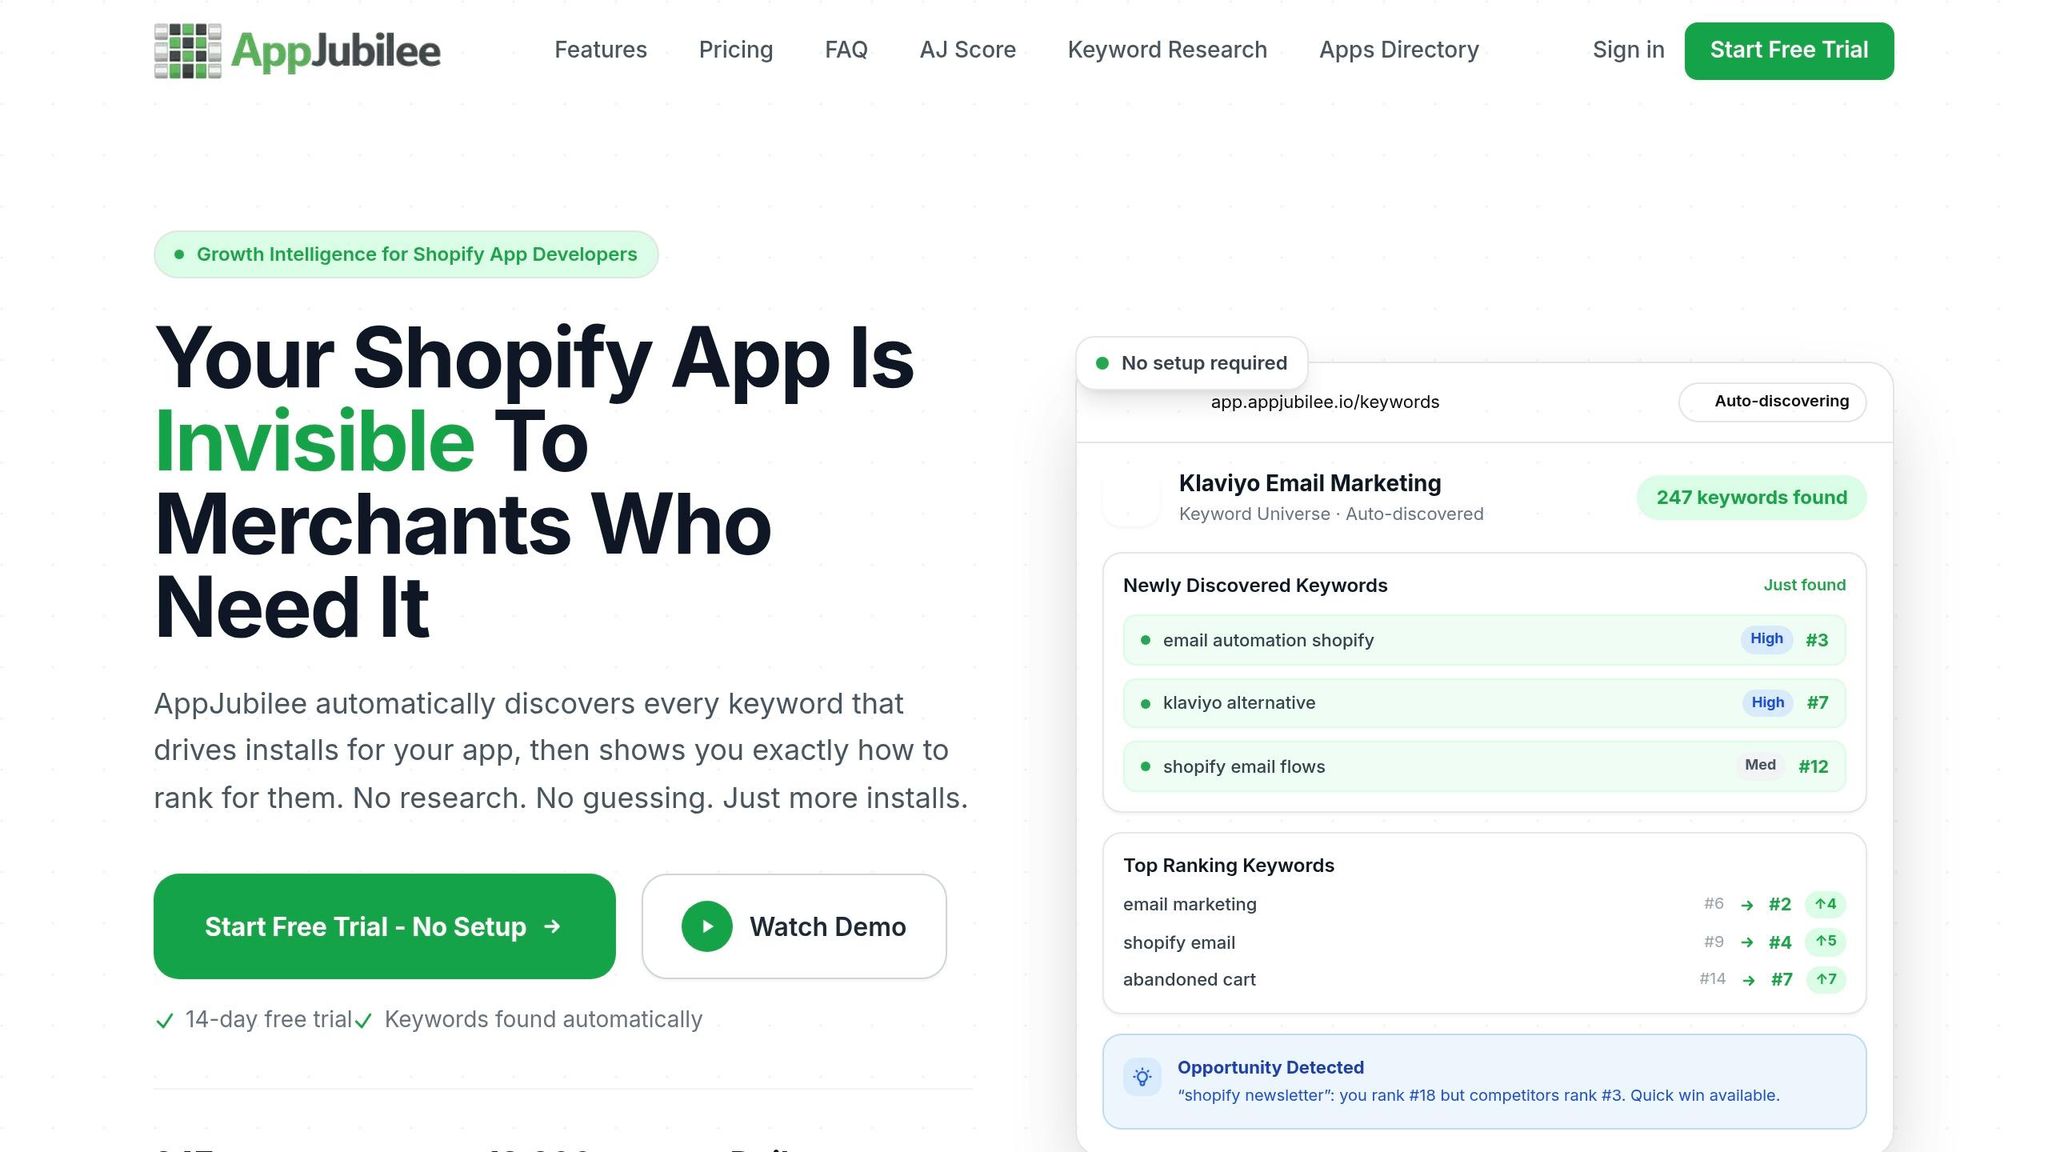
If you want to see this correlation in one dashboard, AppJubilee syncs Shopify Partners data with keyword rankings, review signals, and competitor alerts. That makes it easier to connect visibility shifts with revenue.
The goal is simple: connect visibility changes to revenue movement.
Conclusion: Track Earnings, Verify Payouts, and Link Revenue to Visibility
App overview metrics, app history, Payouts, and exports or the Partner API give you a full picture of earnings, billing, and long-term trends.
Once your numbers are clean, work Shopify's fee threshold into your revenue model. Shopify takes 0% on the first $1,000,000 in annual app revenue, then 15% above that. If you're modeling margins, that line matters.
After you verify earnings, stack that data next to ranking and review changes. Revenue numbers show what changed. Keyword rankings, listing updates, and review trends help explain why it changed. AppJubilee connects Shopify Partners data with keyword rankings, listing-change impact, and review intelligence, so you can trace earnings shifts back to visibility changes.
Use a simple rhythm:
- Check performance daily
- Reconcile every payout cycle
- Compare earnings with rankings and reviews
That way, revenue movement doesn't sit in a vacuum. You can tie each change back to what shoppers saw in the App Store.
FAQs
Why don’t my earnings match my payouts?
In Shopify Partners, earnings and payouts often don’t line up. The main reason is timing.
Earnings show the gross amount from app charges during a given period. Payouts, on the other hand, show what Shopify sends out based on its billing schedule, fee deductions, and currency settlement.
So even if your dashboard shows one revenue number, the amount that lands in your bank account on that date can be different. Shopify batches charges and sends payments on its own calendar, which is why the two figures often don’t match.
Which Shopify Partners reports should I export first?
Start with your app charge data and payout views in the Shopify Partners dashboard. These reports give you the baseline you need to understand how your revenue is performing.
Then bring that data into AppJubilee. This lets you compare revenue trends against App Store ranking moves, listing updates, and keyword ranking changes.
That side-by-side view helps you spot what’s working. If installs or revenue climb after a listing change or a jump in keyword positions, you can tie that growth back to the work that likely drove it.
How long after installs should I expect revenue?
You can usually expect measurable revenue changes within a few weeks after you make updates. That said, the timing depends on how tough the competition is and how well your app is already performing.
If you're targeting highly competitive keywords or terms that are only loosely tied to your app, the wait can stretch to several weeks or even months. To see what's working, track progress at 3, 7, and 14 days after your changes.